
This guide will show the process for installing Microsoft Visio 2019 on your workstation.
Note: Microsoft Visio is only available in Windows.
Step 1 – Login to Microsoft Azure Dev Tools for Teaching
Go to APU Webspace or click here to access Azure Dev Tools login page.

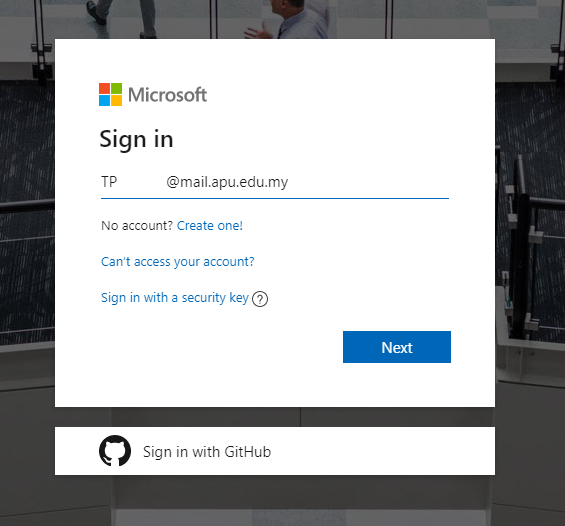
Enter your student Office 365 account email, click Next. (Email format: TPXXXXXX@mail.apu.edu.my)
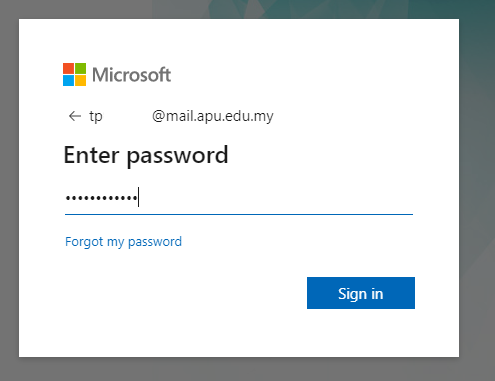
Enter your APkey password. Click Sign In.
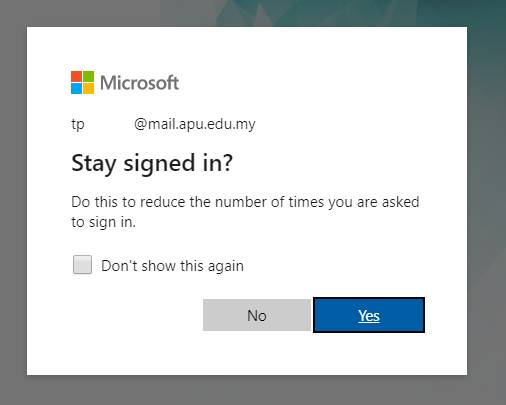
Click Yes if you want to keep login session. Click No if you don’t want to stay signed in.
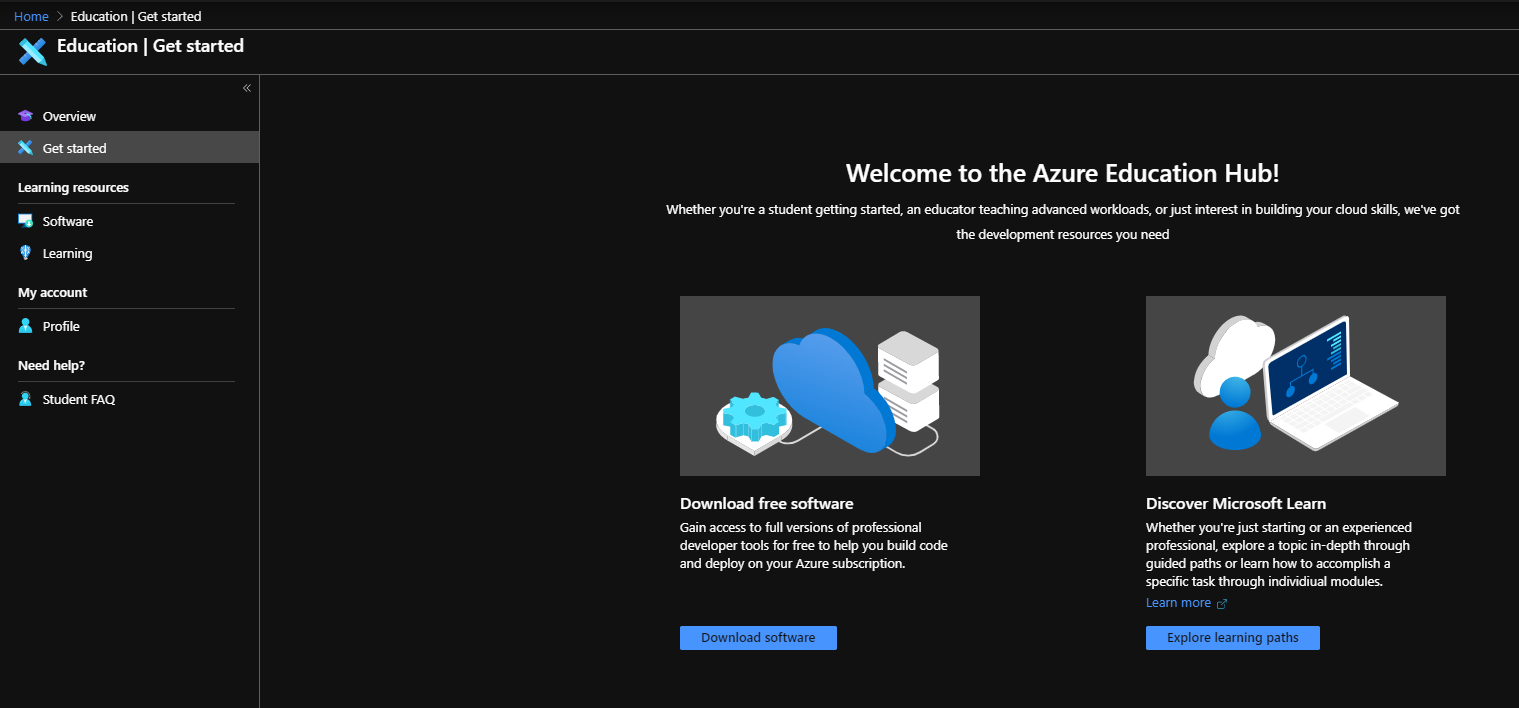
Step 2 – Download Visio Professional 2019
Click on Download software or Learning resources > Software to view the list of softwares available for download.
Enter the keyword “Visio” in the search box. Select Visio Professional 2019 (Windows Only) and click View Key. Note down the serial key and click Download to download the installation media.

You will receive a 3.3GB ISO media. Double click to mount it using Windows Explorer.
Double click on Setup.exe to begin the installation.

Step 3 – Install Visio Professional 2019
You may receive this warning dialog. Click Install 64-bit.

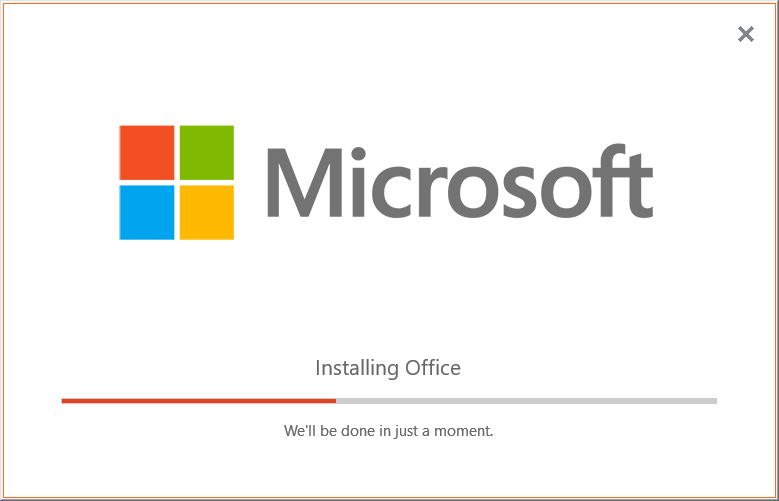
Visio setup will now install Visio Professional 2019 on your workstation. It will take several minutes depending on your computer specification.
Once the installation is finished, you will see a video demonstration on how to access Microsoft Visio. Click Close.

Step 4 – Activate Visio Professional 2019
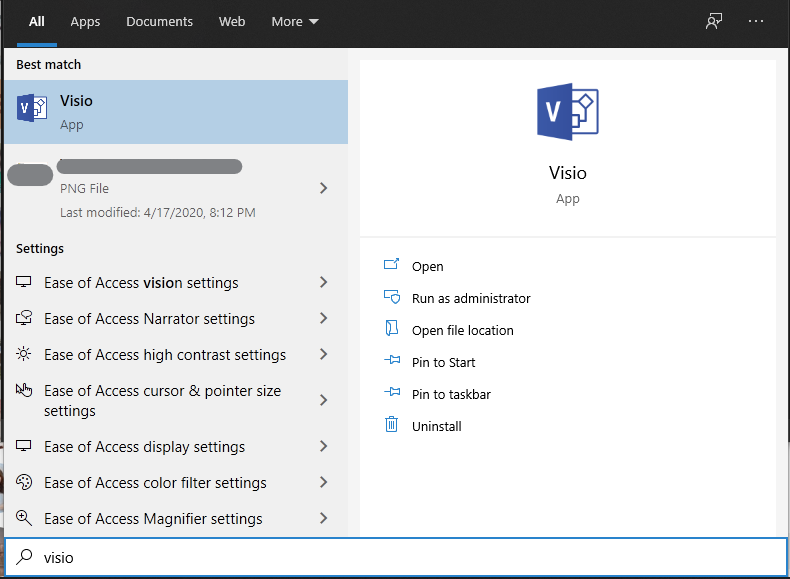
Open Start and type in “Visio”. Click on Visio.
Once you open Microsoft Visio for the first time, you will see a pop-up asking you to Enter your product key. Paste the product key you saw in Step 2 then click Activate Office.

Click Accept and start Visio. You can use Microsoft Visio now.
