
This guide will show the process for installing SQL Server 2019 and SQL Server Management Studio (SSMS) on your workstation.
SQL Server 2019 Developer and SSMS are only available in Windows.
However, there are ways to install SQL Server using Docker and interact with it using third-party software like DBeaver.
Preface
To setup SQL Server in your workstation, you need to have at least the core function installed. The SQL Server installer will install the back-end service(s) that handle the database, while SQL Server Management Studio (SSMS) is responsible for providing the interface to access and interact with the database. Everything you do will go through a database manager before the changes are reflected in the database.

Login to Microsoft Azure Dev Tools for Teaching
Go to APU Webspace or click here to access Azure Dev Tools login page.

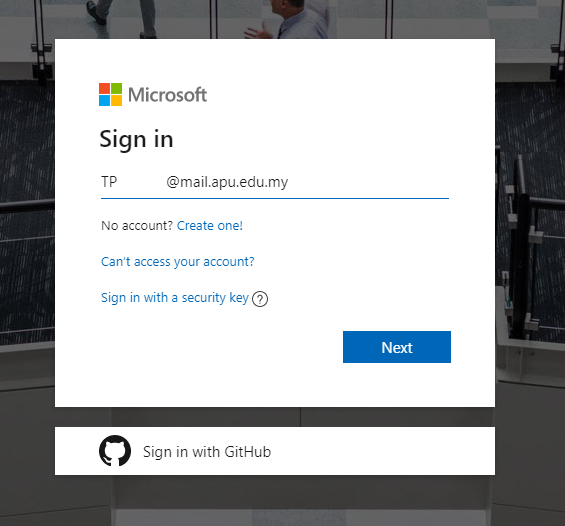
Enter your student Office 365 account email, click Next. (Email format: TPXXXXXX@mail.apu.edu.my)
Enter your APkey password. Click Sign In.
Click Yes if you want to keep login session. Click No if you don’t want to stay signed in.
Download SQL Server 2019 Developer and SSMS
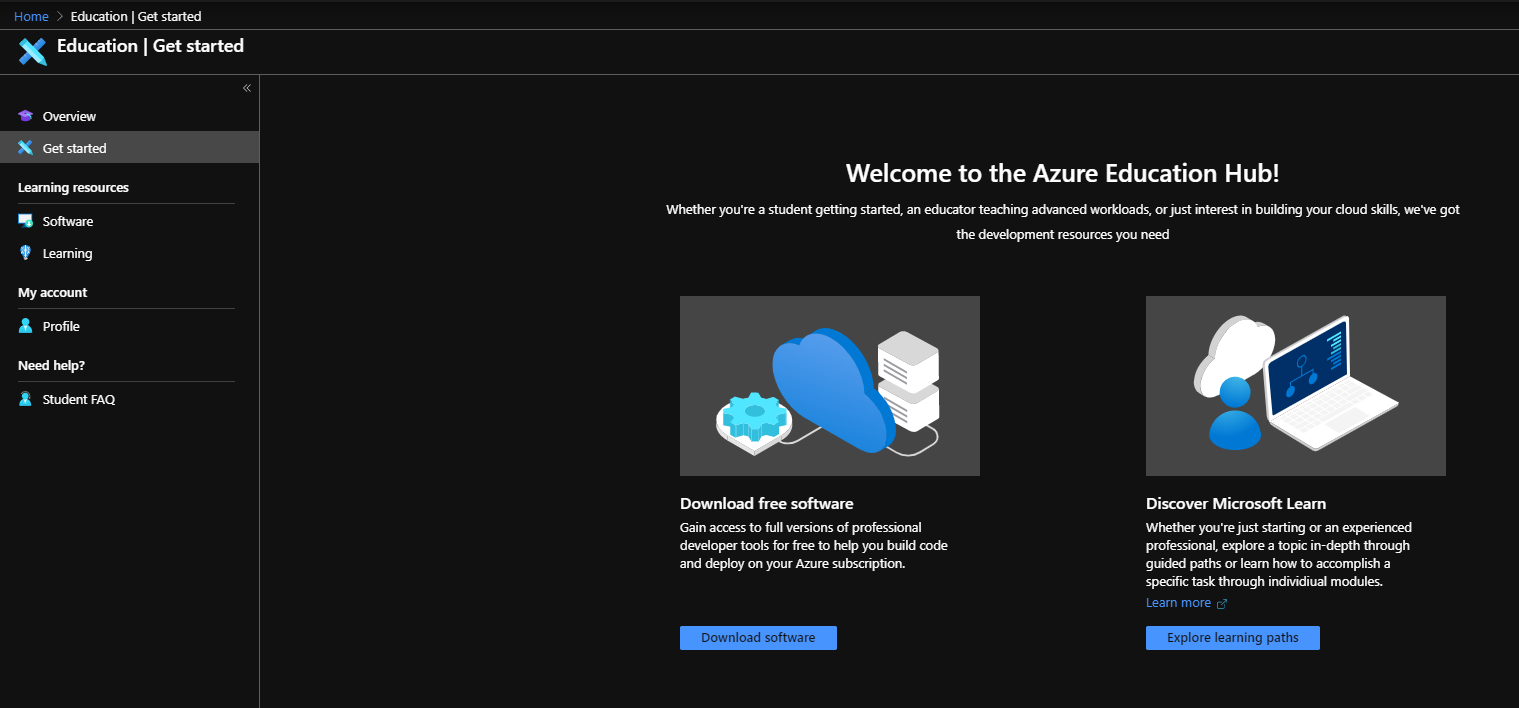
Click on Download software or Learning resources > Software to view the list of softwares available for download.
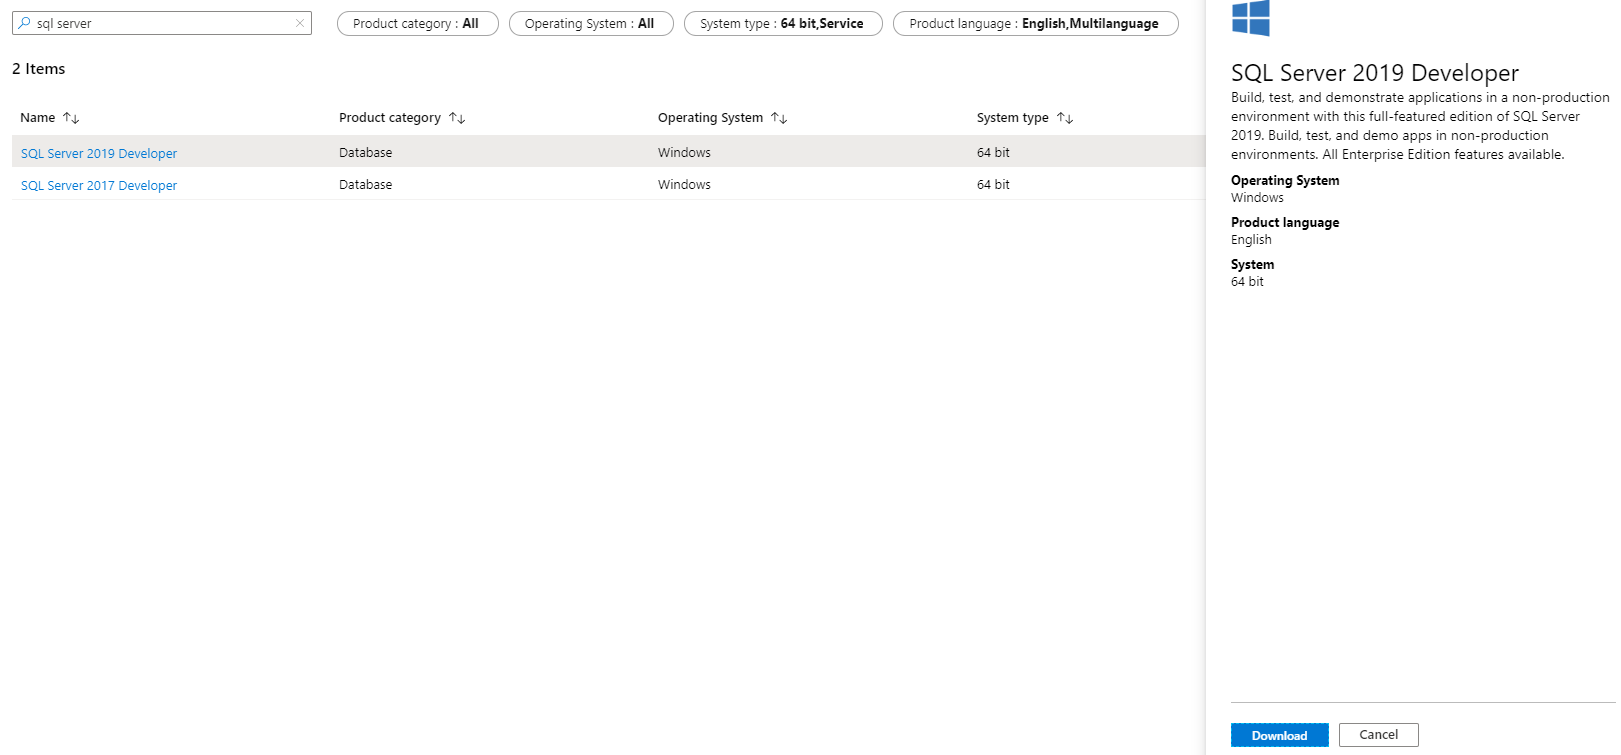
Enter the keyword “SQL server” in the search box. Select SQL Server 2019 Developer and click Download to download the installation media.
Next, navigate to SQL Server Management Studio download page on your browser to download the latest version of SSMS installer.

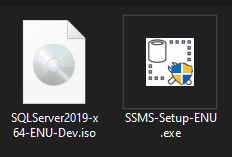
Once you downloaded both installation media, double click on the ISO file to mount the installation media using Windows Explorer.
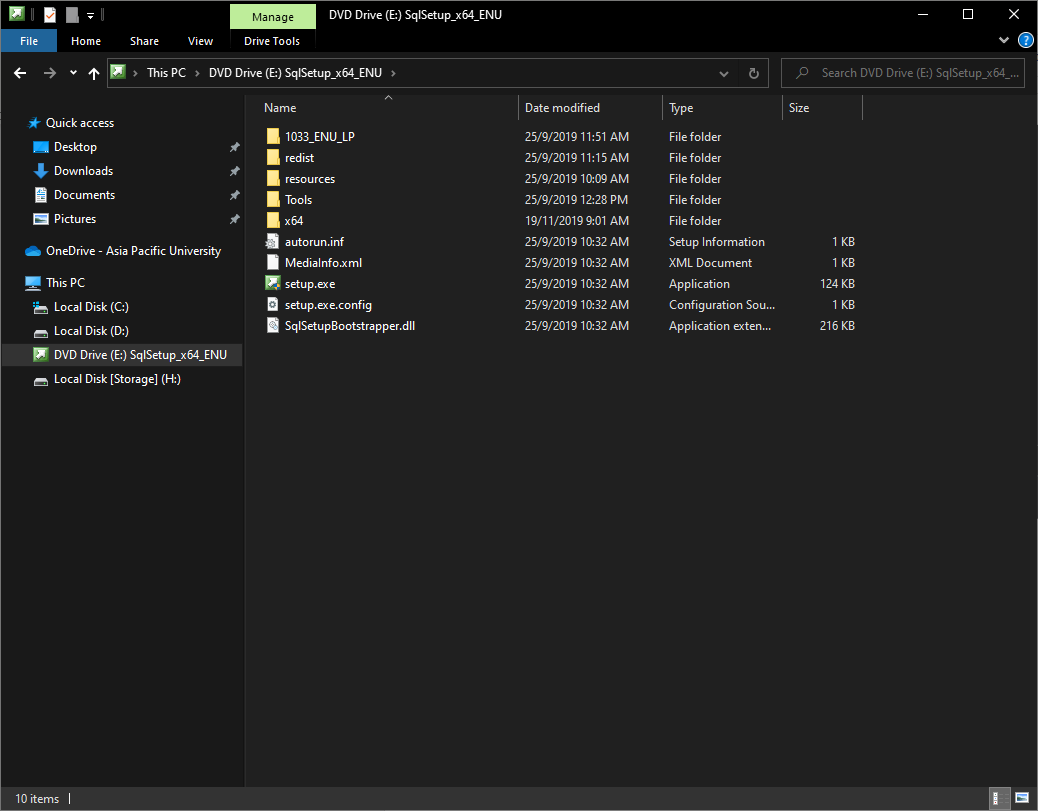
Double click on setup.exe to start the installation process.
Install SQL Server 2019 Developer
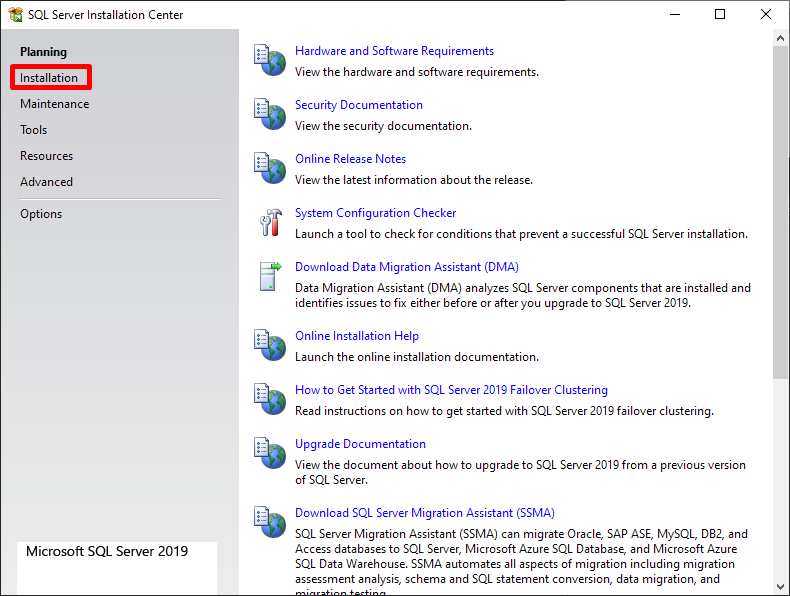
You will see SQL Server Installation Center. Click on Installation.
Click on New SQL Server stand-alone installation or add features to an existing installation.

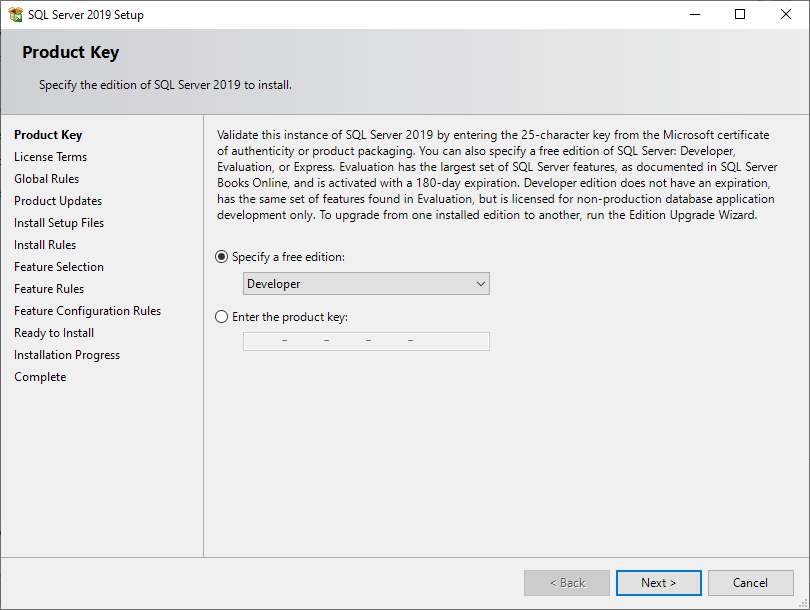
We will be using Developer version. Click Next.
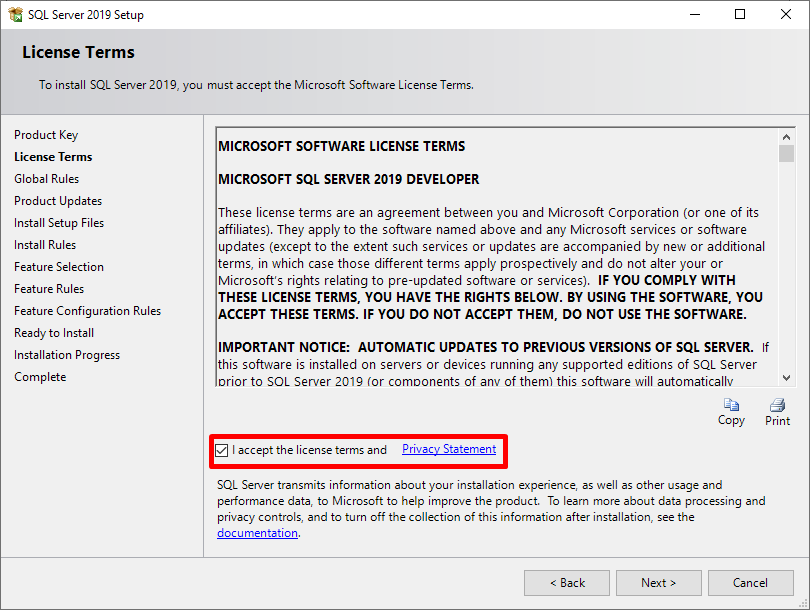
Select “I accept the license terms and Privacy Statement” and click Next.
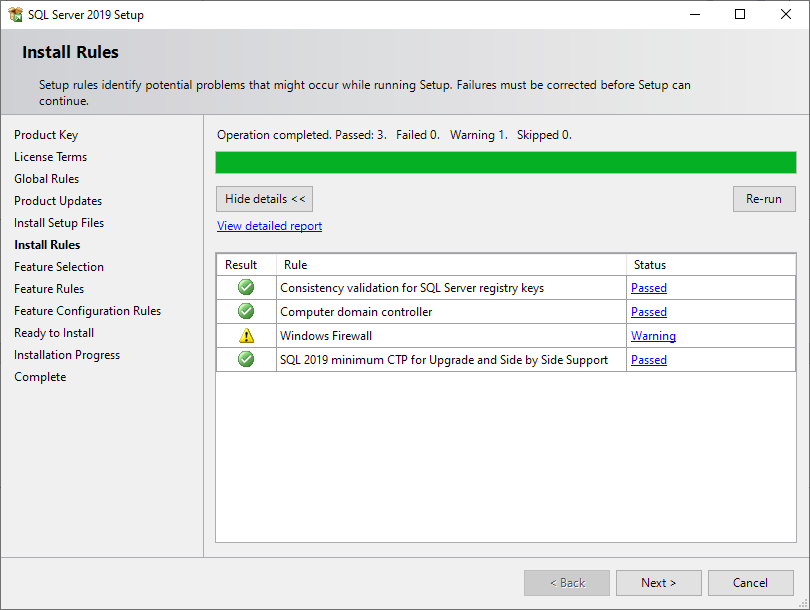
The setup will check for several rules on your computer. Click Next.
Normally a warning will appear for Firewall, as firewall by default will block unused ports that SQL Server might require to perform tasks like remote access.
We will not address the issue as it will not interfere with the functionality required for the course.
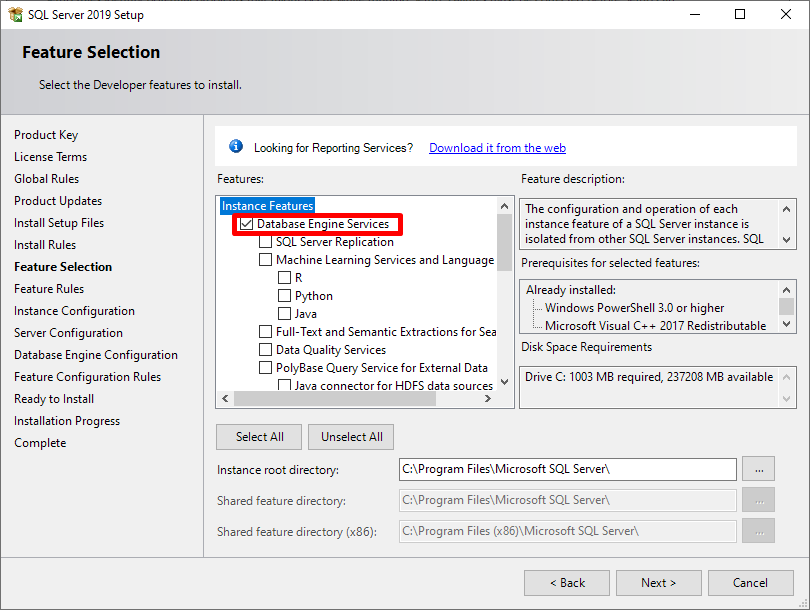
Select “Database Engine Services”. Click Next.
You may select other services if you require it. Do note that installing every services and features will takes up 14GB of hard disk space.
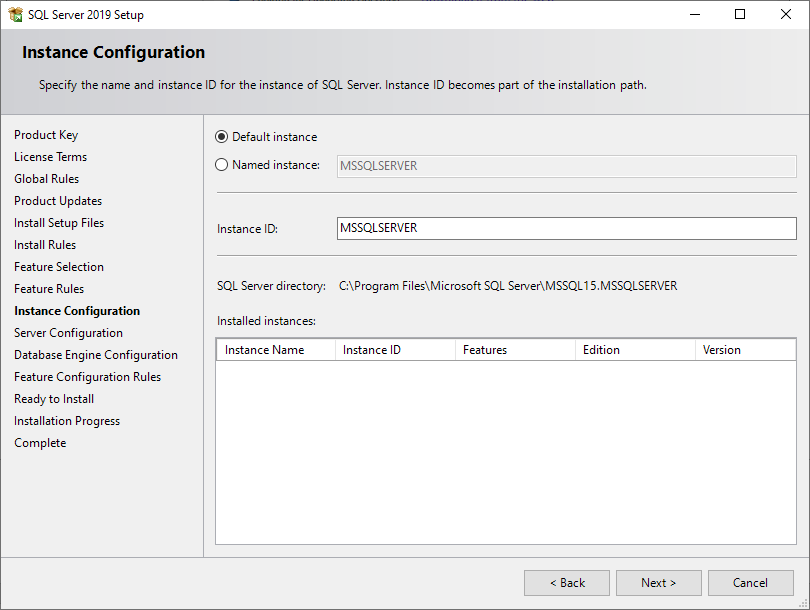
You can change your SQL Server instance name and ID here. Click Next.
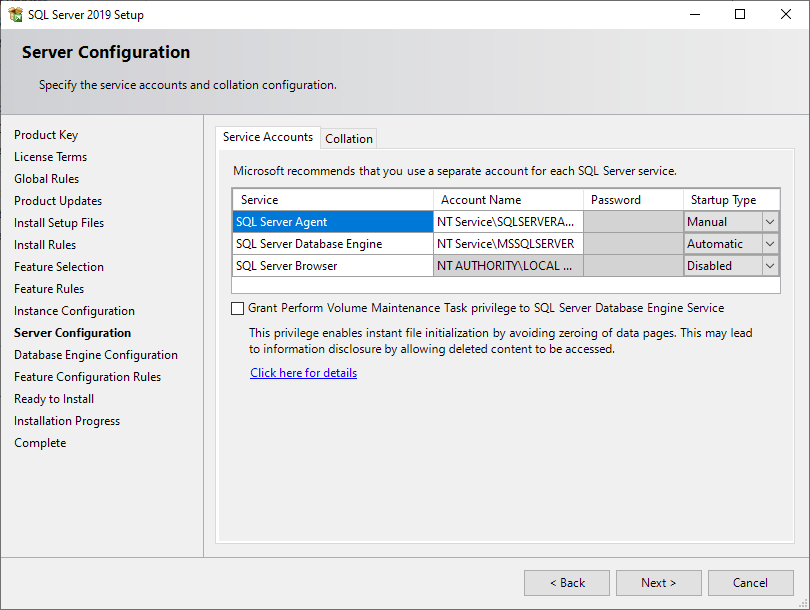
You can change how the SQL server services act during the system startup. Click Next.
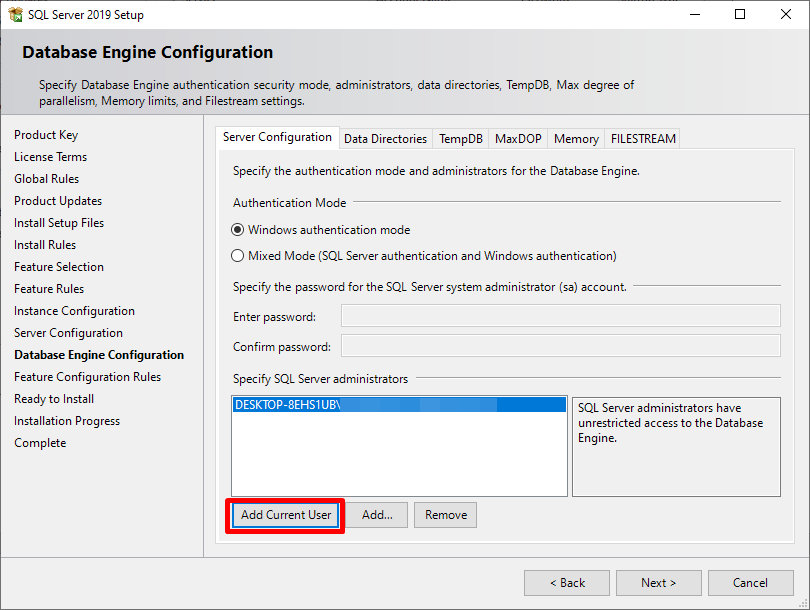
You need to configure the server authentication and add a SQL Server administrator (normally your user account). Click on Add Current User, wait, and click Next.
You may use Mixed Mode, where a built-in sa (SQL Server system administrator) account will be enabled. You will need to provide the sa account password if you choose this authentication mode.
Once the authentication mode is setup, you can use sa account to connect to the SQL server, as well as using Windows account who were assigned as SQL Server administrators.
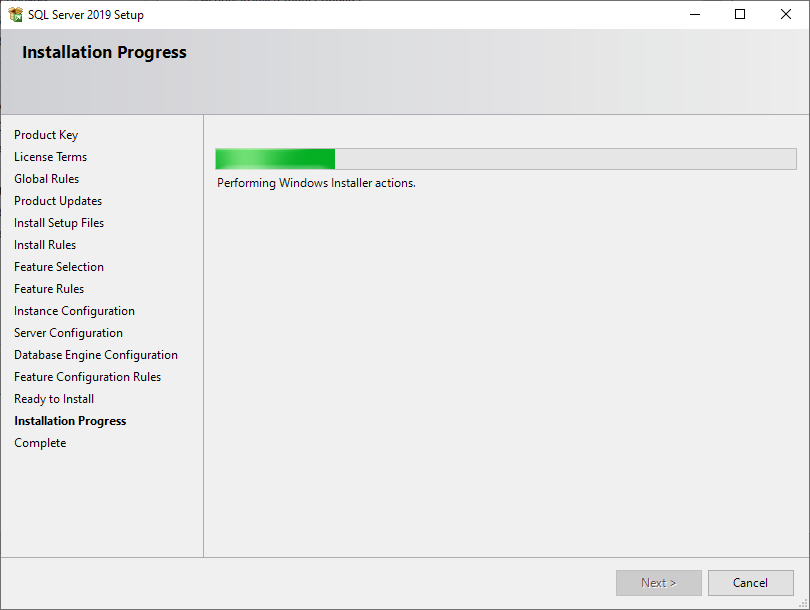
Click Install.
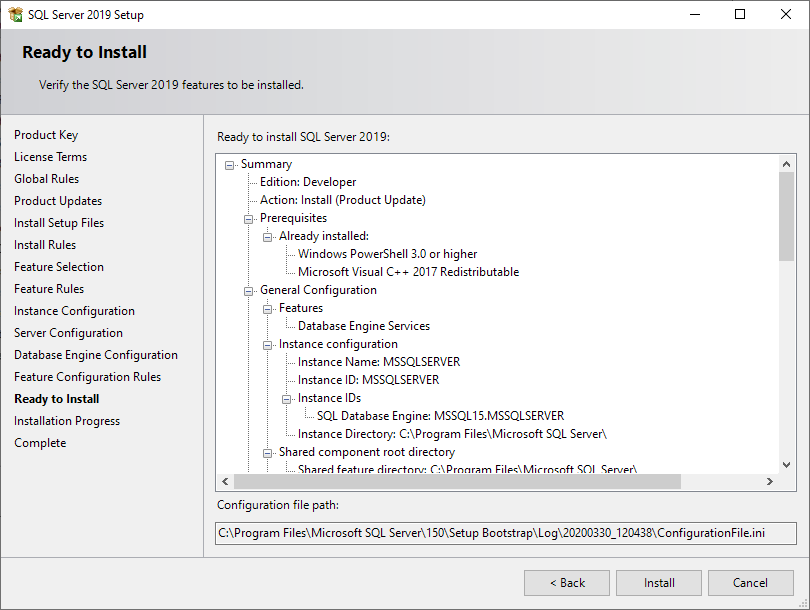
Depending on your computer specification, it will take around 10 minutes to install SQL Server.
Once you installed everything successfully, click Close.

Install SSMS
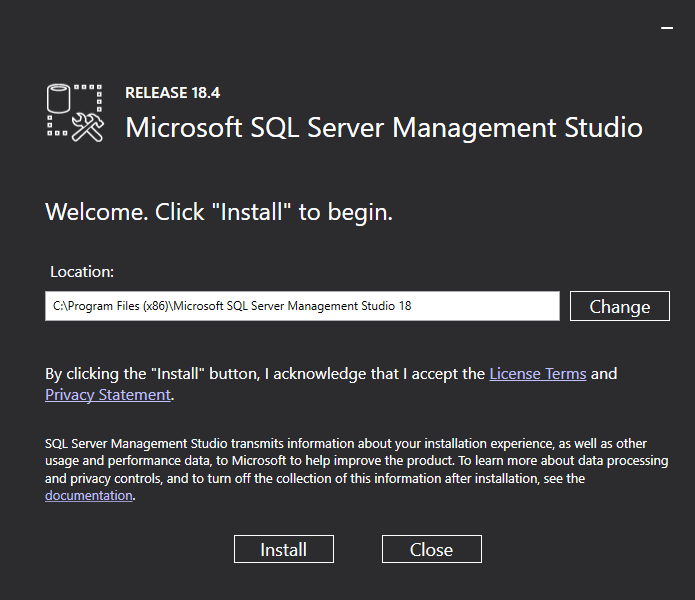
Double click on the SSMS installer (SSMS-Setup-ENU.exe). Click Install.
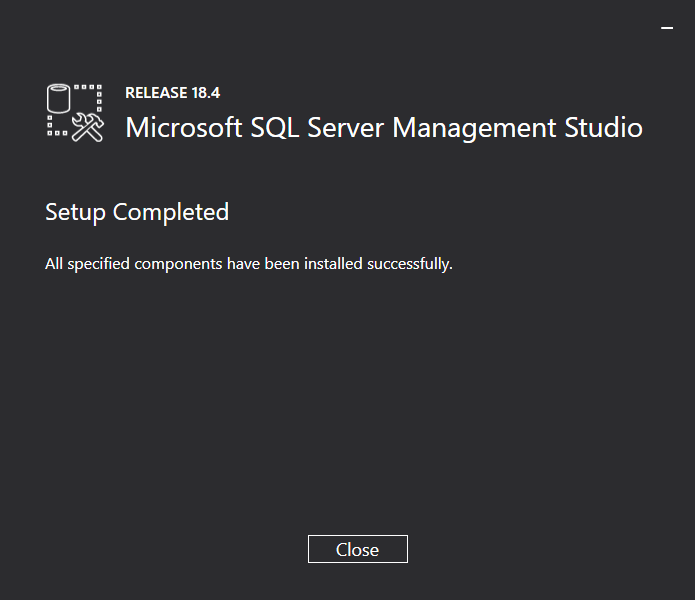
Depending on your computer specification, it will take around 10 minutes to install SSMS.

Click Close.
After Installation
After installing SQL Server and SSMS, you can use the database.
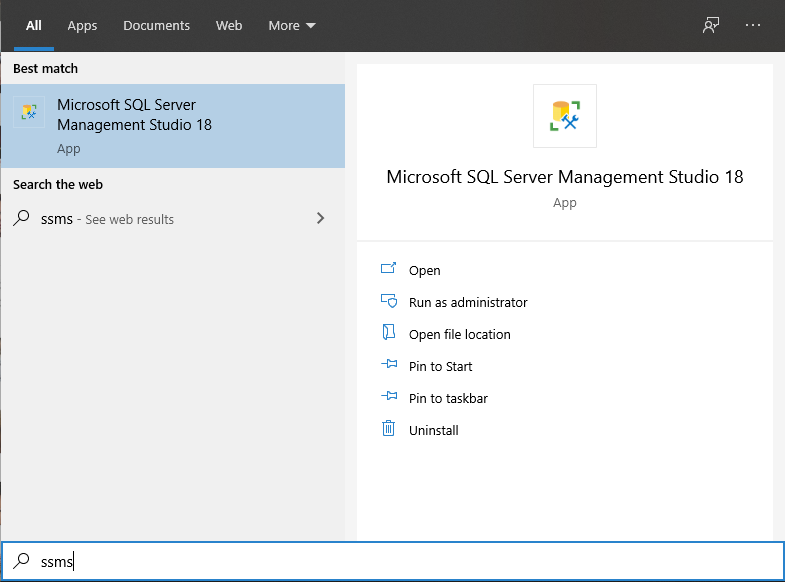
Open “Start” and type in “ssms”. Click on “Microsoft SQL Server Management Studio 18”.
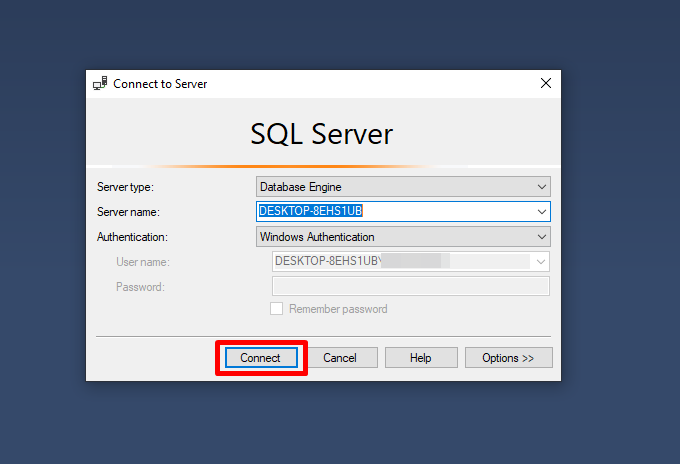
You should see this window for you to connect to the server. Click Connect.
If you manage to connect to the server successfully, you will see this in Object Explorer.

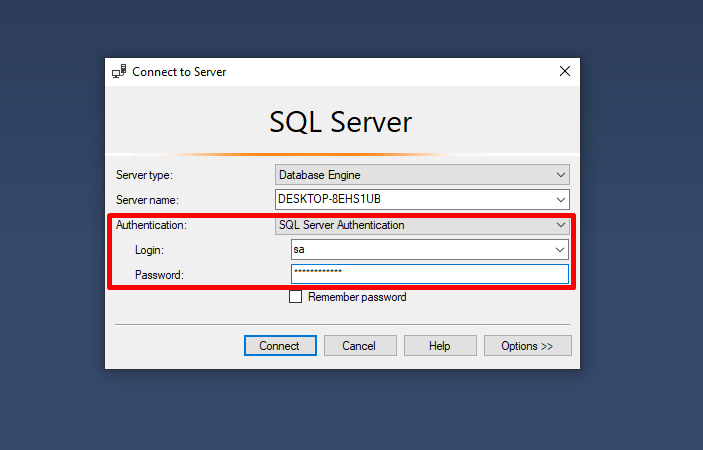
If you used Mixed Mode for authentication, you may login using SQL Server Authentication mode and enter your sa account credentials.
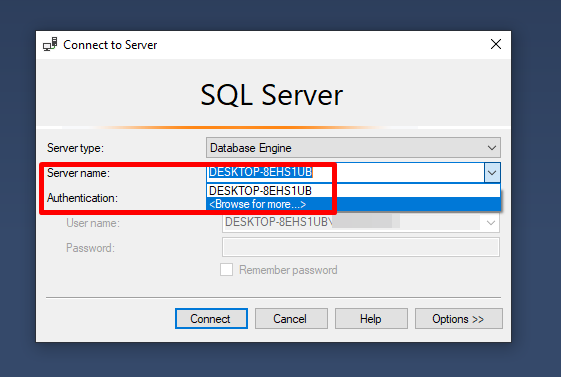
If you have more than one server Instances installed, you can change it in Server name by clicking <Browse for more…>.If you have more than once Instances, you will see multiple items under Database Engine.
By default, SQL Server service will run upon system startup, unless you changed the settings during instance setup.
If you are not sure, you can check through services.msc by using Run… prompt (Shortcut: ⊞ WIN + R).
Ensure SQL Server service is Running. If you set it to Manual, you will need to start the service manually.
