For more convenience, you can also divide the enrolled users into groups. It’s especially useful when you have different classes that study the same course, or there’s another teacher assigned to this course, so you would like to split the learners.
To create a group:
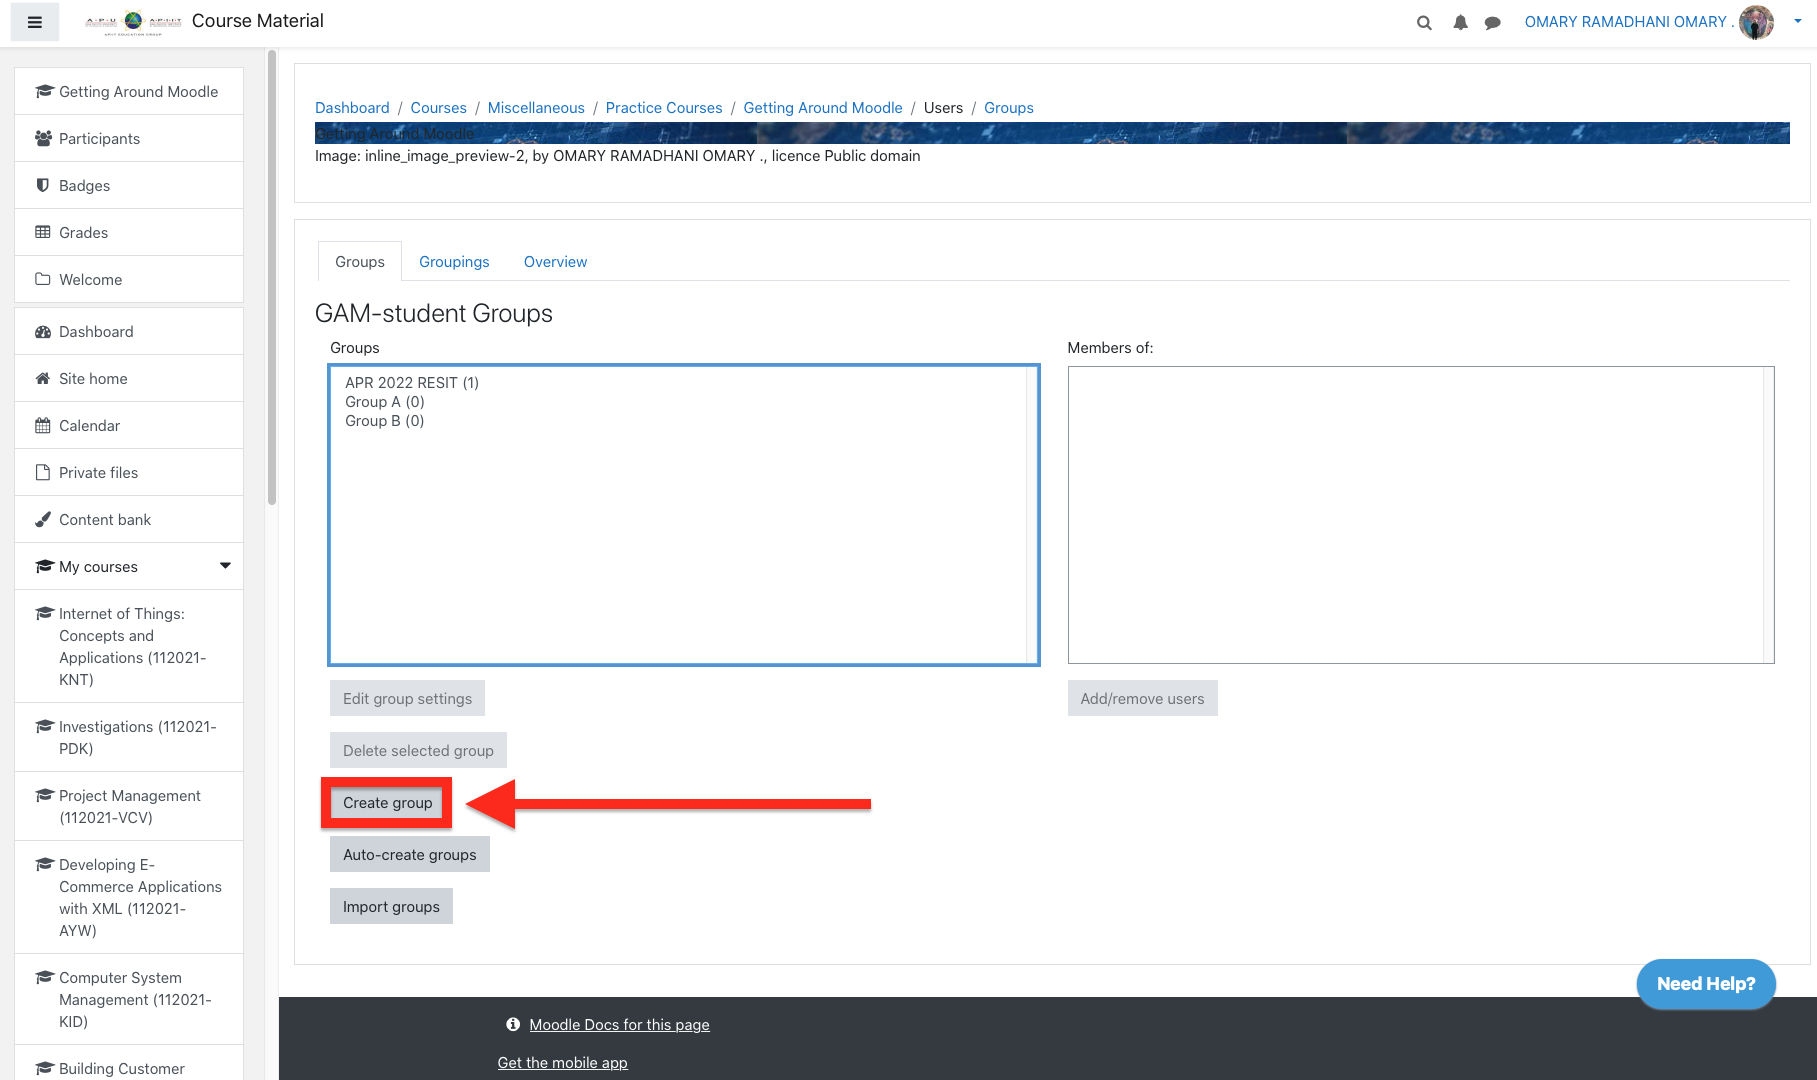
Step 1 - Click on the ⚙ icon in the upper “Create group." After that, name the group, set a picture, enable group messaging if you like, and click Save changes.

Step 32 - Again, in a new window, select the group from the list and click Add/remove users from the right. You’ll see the list of users enrolled in the course; select those who you’d like to add to the group and click Add in the middle.

